

Overview
Time to complete
~15 minutes
Difficulty
Beginner-Friendly (No Code)
Goal
Connect AI to a real phone
Integration flow:
OUTBOUND
Your App
→
LiveKit
→
Vobiz
→
Phone Network
INBOUND
Phone Network
→
Vobiz
→
LiveKit
→
AI Agent
Prerequisites
Before you start:Vobiz Account with active balance → Create account
LiveKit Account with project → Sign up
LiveKit AI Agent built → LiveKit Agents docs
Part 1: Vobiz setup
Create a SIP trunk

- Log in to the Vobiz Console
- In the left sidebar, navigate to SIP Trunk > Outbound Trunks > Trunks
- Click + Create Trunk
- Enter a Trunk Name (for example, “LiveKit Integration”) and an optional Description
- Under Authentication & Linking, select a Credential from the Credentials List (or click + Create New Credential if you don’t have one)
- Click + Create Trunk at the bottom right to save
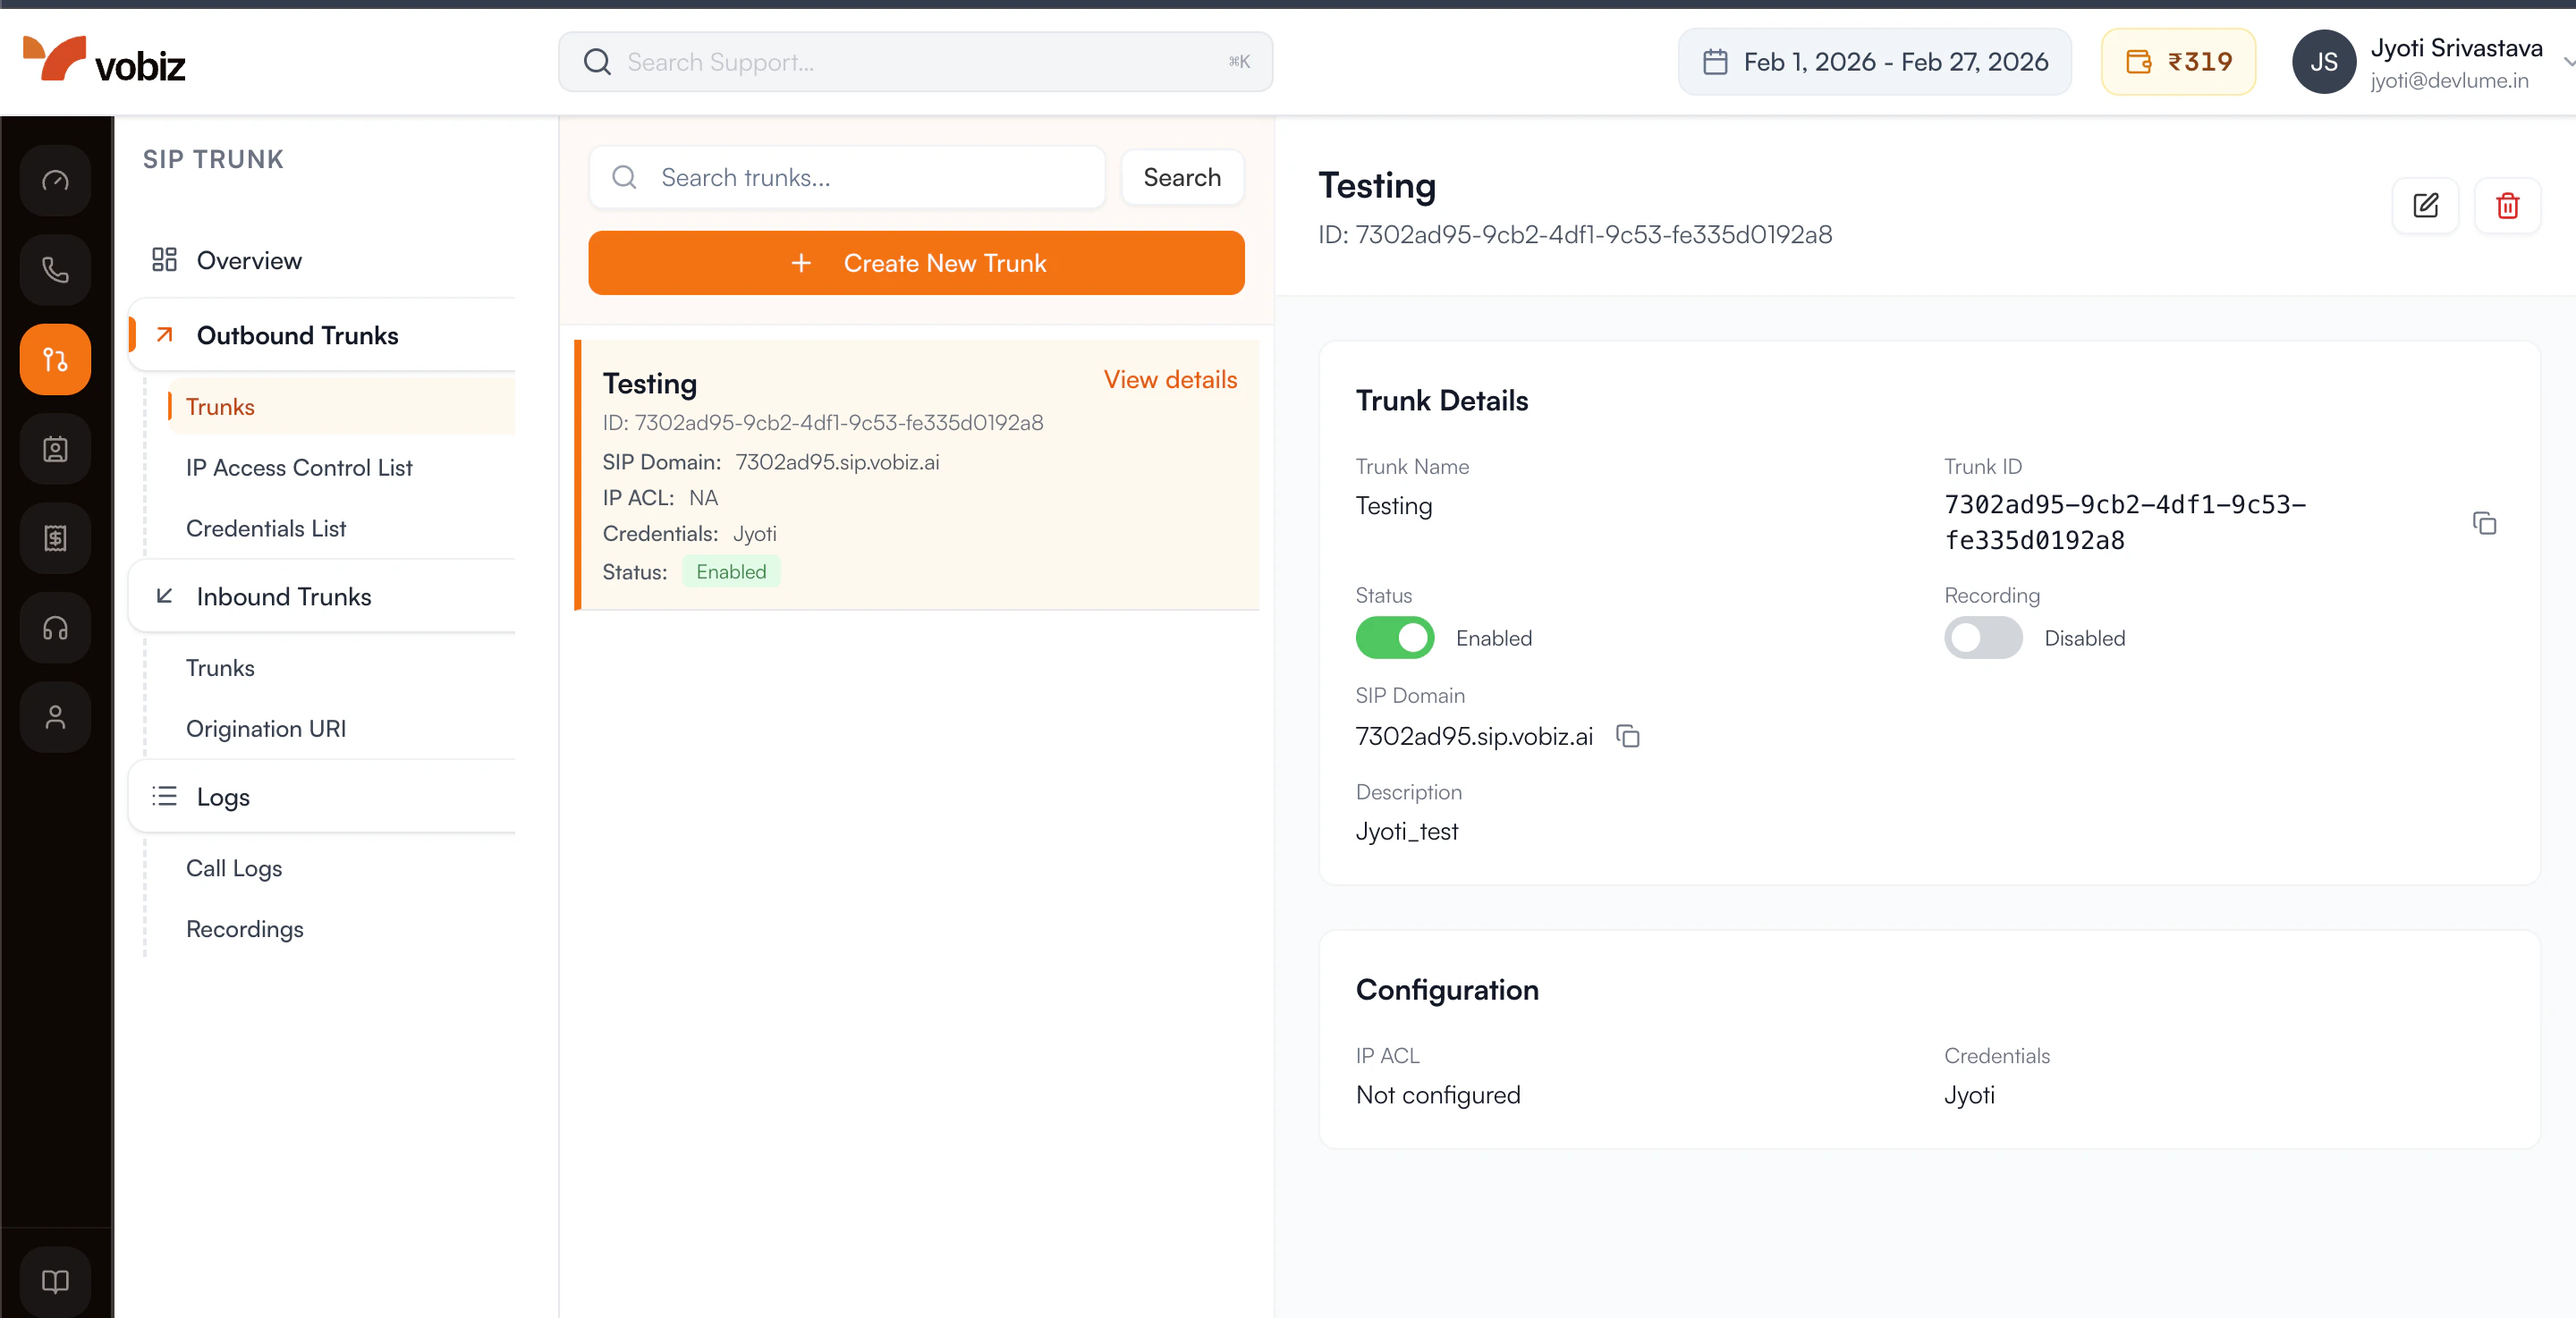
You now have a dedicated bridge ready for voice traffic.
Get a phone number
Purchase a phone number for outbound caller ID or inbound calls. See phone numbers.
Part 2: LiveKit setup
Get LiveKit credentials
- Go to the LiveKit Cloud Dashboard and select your project.
- Go to Settings > API Keys.
-
You need these three values:
.env
Part 3: Connect LiveKit to Vobiz (outbound)
For a complete working example, see the LiveKit Vobiz Outbound Repository.
Initialize the LiveKit API client
Create an outbound trunk
Connect LiveKit to your Vobiz SIP trunk using the credentials from Part 1:
Your LiveKit project is now securely linked to the Vobiz network.
Part 4: Make outbound calls
- LiveKit creates the call via Vobiz
- The person answers and joins the LiveKit room as a participant
- Your AI agent joins the same room
- The conversation begins
Part 5: Configure inbound calling
For a complete working example, see the LiveKit Vobiz Inbound Repository.
-
In the LiveKit Cloud Dashboard, go to Settings > Project and find the SIP URI field.
-
Update your Vobiz trunk to route inbound calls to LiveKit. See Update Trunk.
-
In the LiveKit dashboard, go to Telephony > Trunks and click Create new trunk > Inbound. Configure:
- Phone Numbers: Your Vobiz number (for example,
+918071387434) - Allowed Addresses:
0.0.0.0/0(restrict this in production)
- Phone Numbers: Your Vobiz number (for example,
-
Go to Telephony > Dispatch Rules and click Create new dispatch rule. Configure:
- Rule Type: Individual
- Room Prefix:
call- - Match Trunks: Select your inbound trunk
voice-assistant(must match your agent exactly). Click Create.
Part 6: SIP call transfer
The LiveKit Voice Agent supports cold transfer via SIP REFER.- Say “Transfer me” or “Transfer me to a live agent” → transfers to the default configured number
- Say “Transfer me to +1 555 000 1234” → transfers to the requested number
sip:+15550001234@<your-sip-domain>) and initiates the transfer automatically.
Transfer troubleshooting
Troubleshooting
Outbound calls
Call doesn’t connect:
- Verify
addressin the LiveKit trunk matches your exact Vobizsip_domain - Check that credentials (
auth_username,auth_password) match exactly - Common mistake: using
sip.vobiz.aiinstead of your specific domain
- Verify credentials in Vobiz Console under Trunks
- Ensure the LiveKit trunk uses the same credentials
- Check your balance at Vobiz Console and top up if needed
Inbound calls
Call disconnects immediately:
- Confirm
inbound_destinationhas thesip:prefix removed - Verify your Vobiz phone number is added to the LiveKit inbound trunk
- Check that
allowed_addressesis set to0.0.0.0/0in the LiveKit trunk
- Confirm the agent is running
- Verify the dispatch rule has “Agent dispatch” configured
- Check that the agent name matches exactly (for example,
voice-assistant) - Confirm the dispatch rule is linked to the correct inbound trunk
Quick reference
Credentials mapping
Common errors
Resources
Vobiz LiveKit Example repositories Support- Vobiz: support@vobiz.ai
- LiveKit: livekit.io/support
Integration complete!Your LiveKit agents can now make and receive calls through Vobiz.