

What you’ll build
By the end of this guide, you’ll have:- the Vobiz node installed in n8n and connected to your Vobiz account;
- a workflow that calls a phone number and speaks a message;
- your Vobiz number answering incoming calls from n8n, with a message, call forwarding, a key-press menu or voicemail.
What’s in the Vobiz node
The Vobiz node can also be used as a tool by n8n’s AI Agent node. To start from a template instead of an empty workflow, see Ready-made workflows.
Prerequisites
- Vobiz account → sign up at vobiz.ai, as shown in Set up your accounts
- Vobiz phone number - the caller ID for your calls, and the number that answers incoming calls → Buy a phone number
- Your Auth ID and Auth Token - on the Vobiz Console Dashboard, under API credentials
- n8n account - n8n Cloud or self-hosted n8n. Installing the node needs the Owner or Admin role in n8n.
- Self-hosted n8n only: n8n must be reachable from the internet over HTTPS, so Vobiz can send call events to it.
- WhatsApp only: a WhatsApp channel on your Vobiz account → WhatsApp prerequisites
Set up your accounts
You need a Vobiz account for calls and numbers, and an n8n account to build the workflows. Skip a step if you already have that account.Step 1: Create your Vobiz account
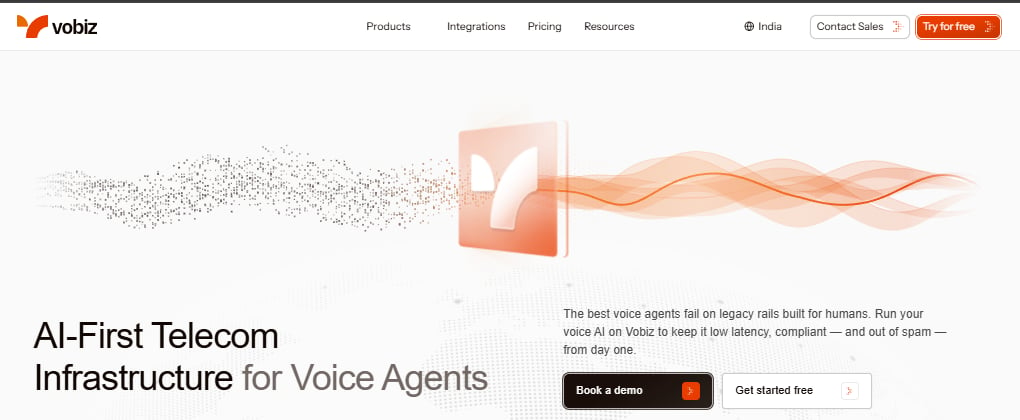
Go to vobiz.ai and click Try for free at the top right (or Get started free), then create your account.
Step 2: Open the Vobiz Console
Once you’re signed in, the Vobiz Console opens on the Dashboard. Your Auth ID and Auth Token are further down this page, under API credentials: you’ll copy them in Connect your Vobiz account.
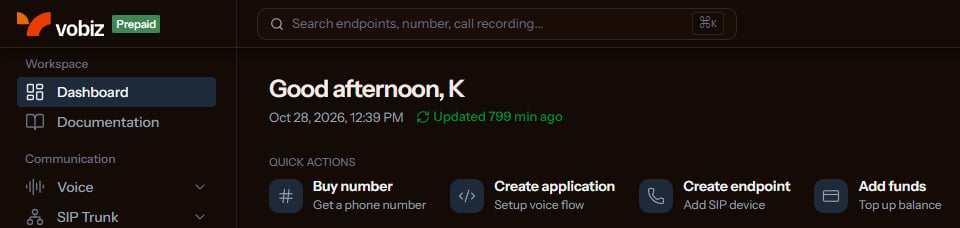
If the Console shows You’re on a trial account, click Add funds to unlock all features. You also need a Vobiz phone number to call from.
Step 3: Create your n8n account
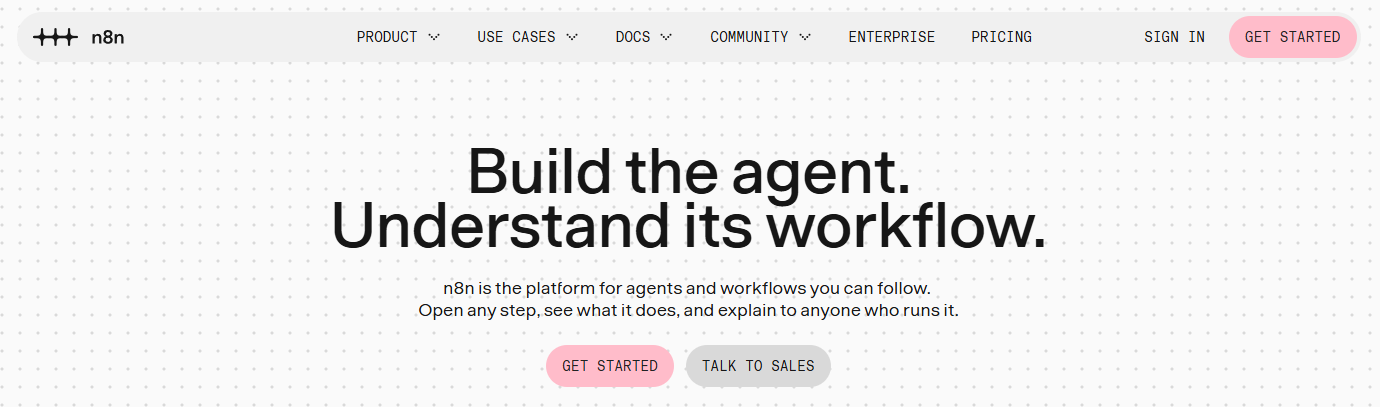
Go to n8n.io and click Get started to create an n8n Cloud account. Already running n8n yourself? Skip to Install as a community node.
Step 4: Open your n8n instance
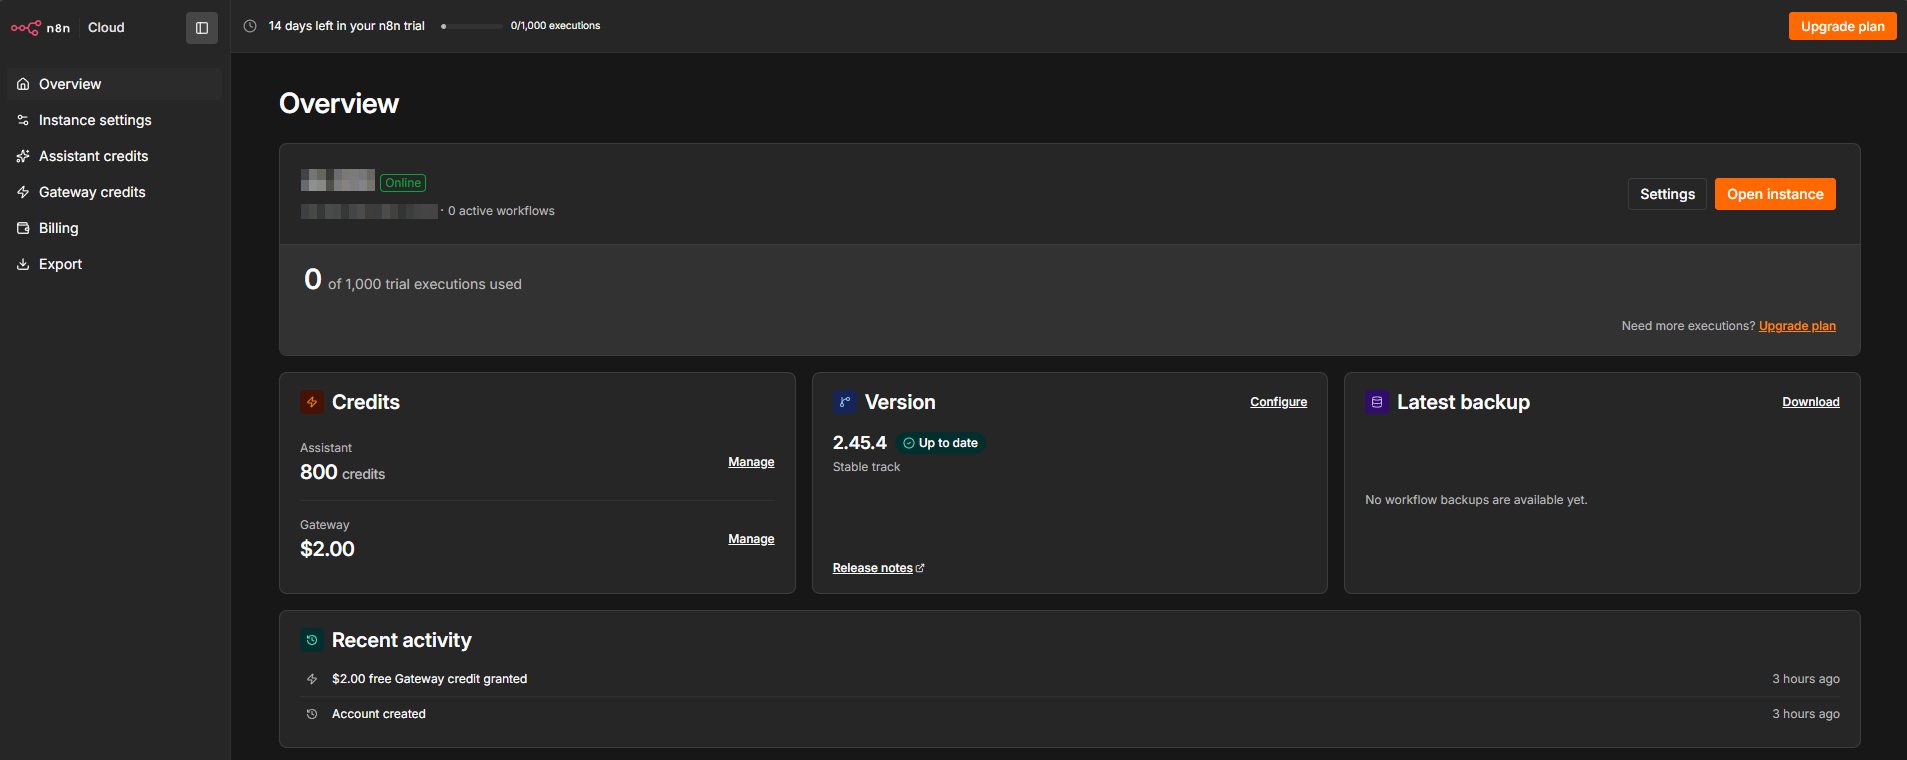
After you sign up, the n8n Cloud dashboard shows your instance on its Overview page. Click Open instance.

Install the Vobiz node
These steps use n8n Cloud. On self-hosted n8n, install it as a community node.Step 1: Create a workflow
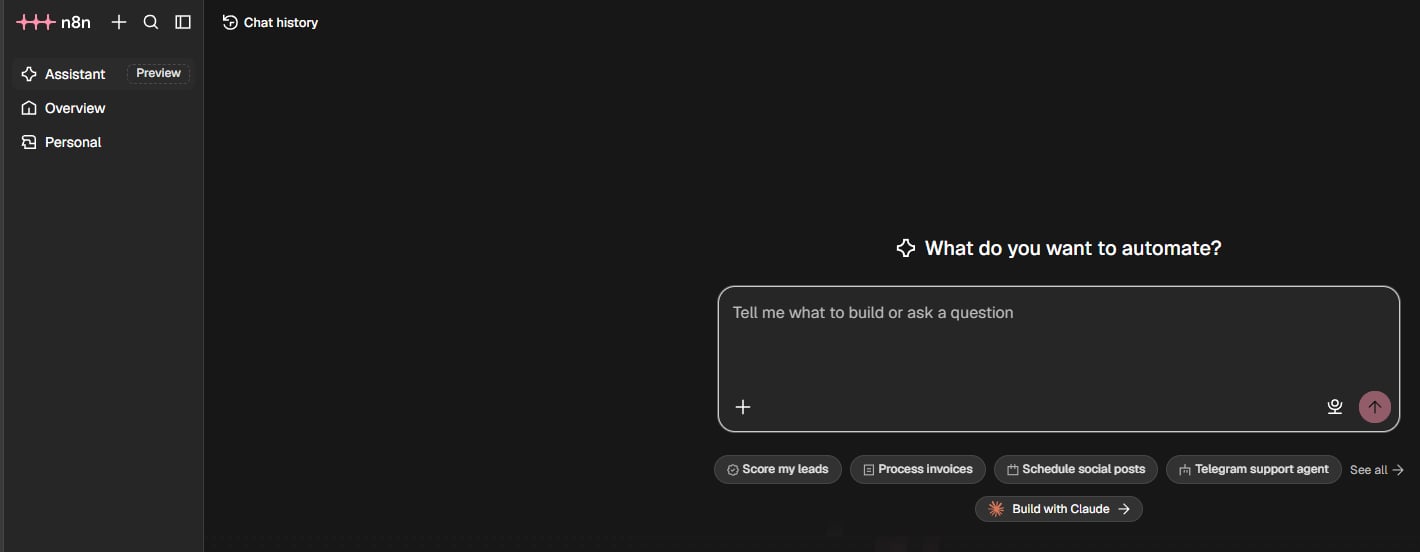
Your instance opens on its home page. Click + at the top of the left sidebar, next to the n8n logo, then select New workflow.
Step 2: Search for Vobiz
1
Open the nodes panel
The new workflow opens with the What triggers this workflow? panel on the right. If it’s closed, click Add first step… on the canvas.
2
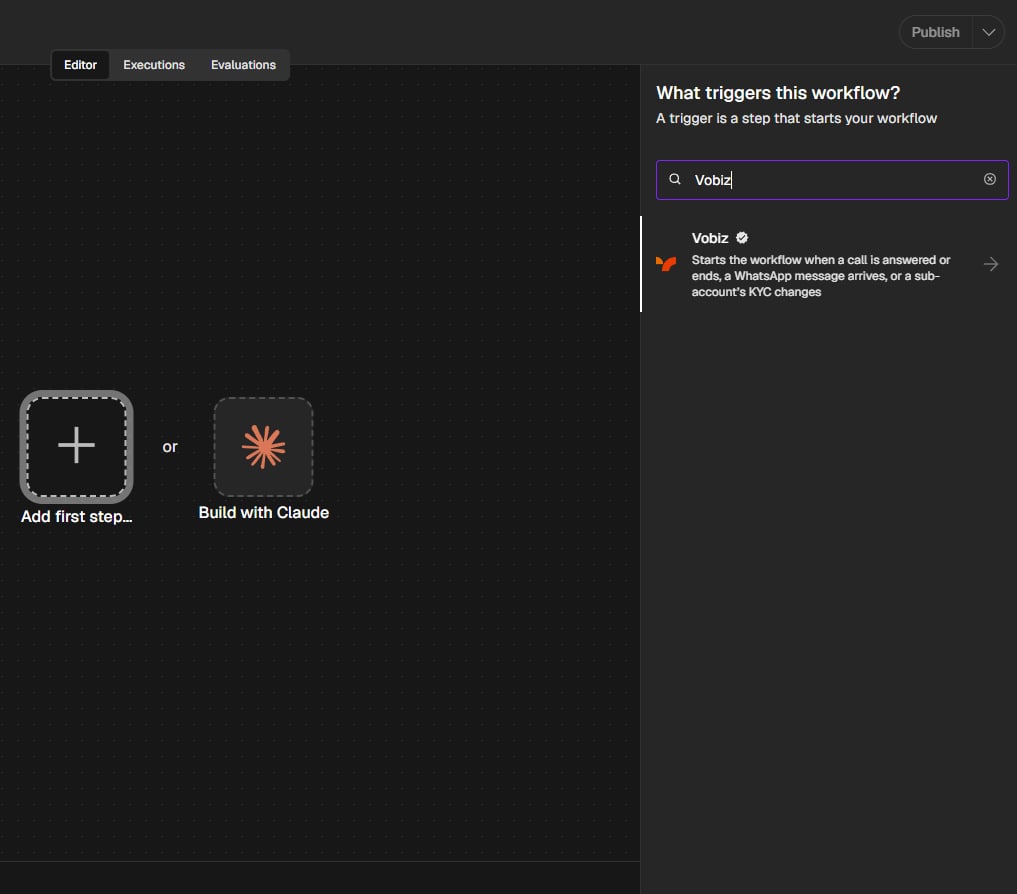
Search for Vobiz
Type
Vobiz in Search nodes…. Vobiz appears with a verified badge next to its name. Select it.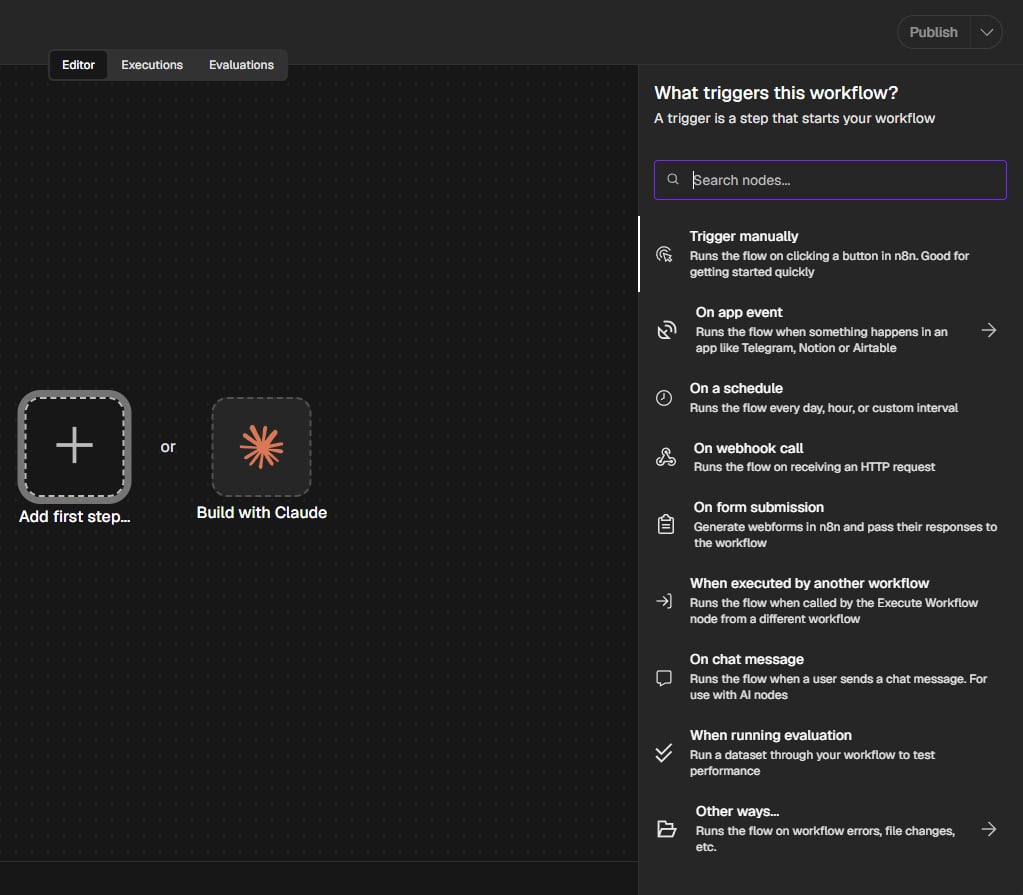
Step 3: Install the node
1
Click Install node
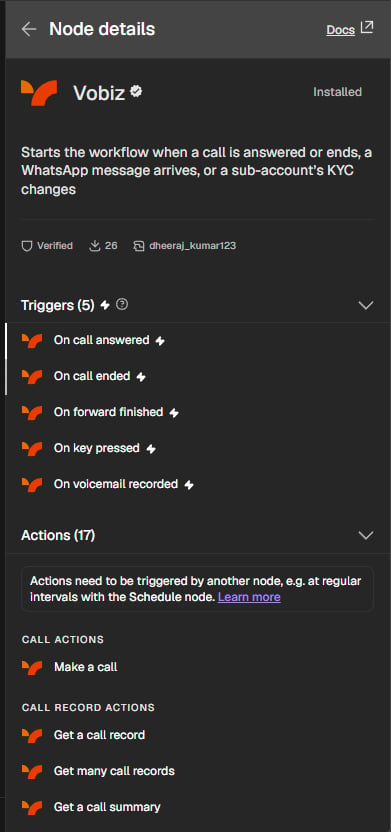
The Node details panel opens. Click Install node. n8n installs the Vobiz package for your whole n8n instance, and the button changes to Installed.
2
See what's in it
The panel lists the Vobiz Triggers (5) and Actions (17), grouped by resource, such as Call actions and Call record actions. Actions run after another node in the workflow, such as a trigger or n8n’s Schedule Trigger.
Only an Owner or Admin can install the node. With the Member role, the panel shows Please contact an administrator to install this community node: ask your n8n owner to install it. Once it’s installed, everyone in your n8n can use it.
Step 4: Add the Vobiz Trigger
Under Triggers, select On call answered. n8n adds a Vobiz Trigger to the canvas, with Calls as its source. The red warning icon means the node doesn’t have a credential yet: you add one in the next section.
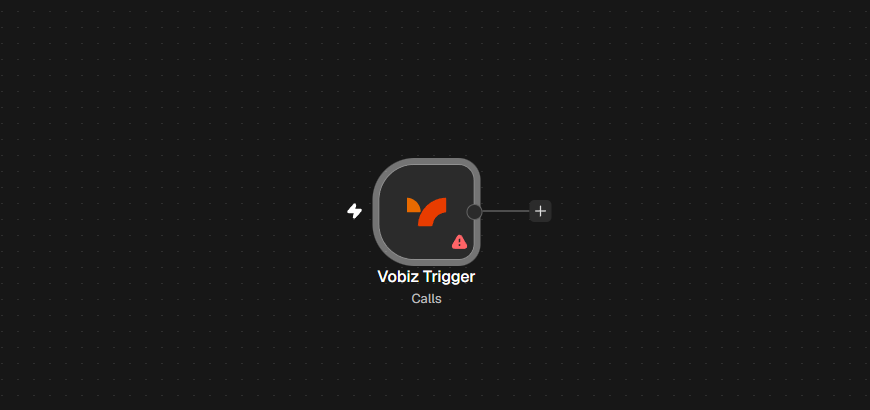
The Vobiz node is installed. Next, connect it to your Vobiz account.
Install as a community node
A community node is an n8n node published on npm instead of built into n8n. The Vobiz node’s npm package is@vobiz-ai/n8n-nodes-vobiz. On self-hosted n8n, install it by that name. You need the Owner or Admin role.
Step 1: Open Community nodes
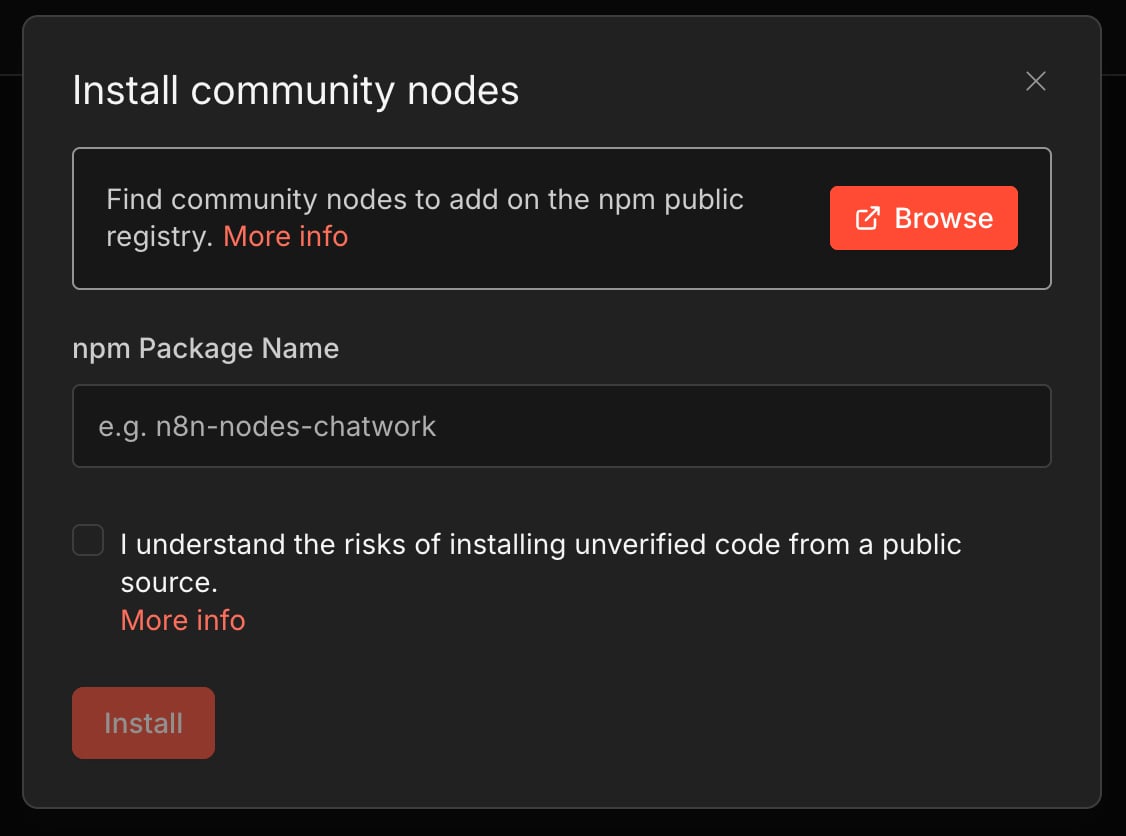
In the left sidebar, click Settings, then Community nodes. Click Install (Install a community node if none are installed yet).
Step 2: Install the package
1
Enter the package name
In npm Package Name, enter
@vobiz-ai/n8n-nodes-vobiz.2
Accept the notice
Tick I understand the risks of installing unverified code from a public source.
3
Install
Click Install.
Step 3: Check that it’s installed
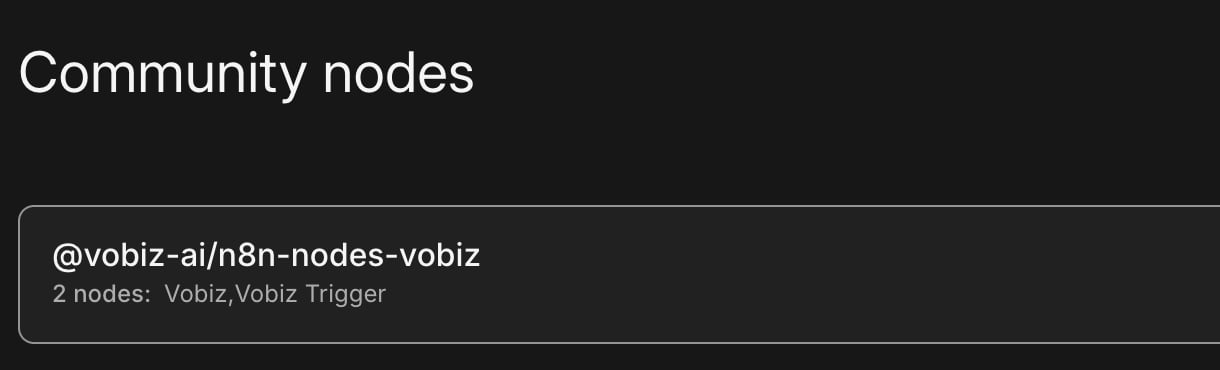
Community nodes lists @vobiz-ai/n8n-nodes-vobiz with its 2 nodes, Vobiz and Vobiz Trigger.
Step 4: Add it to a workflow
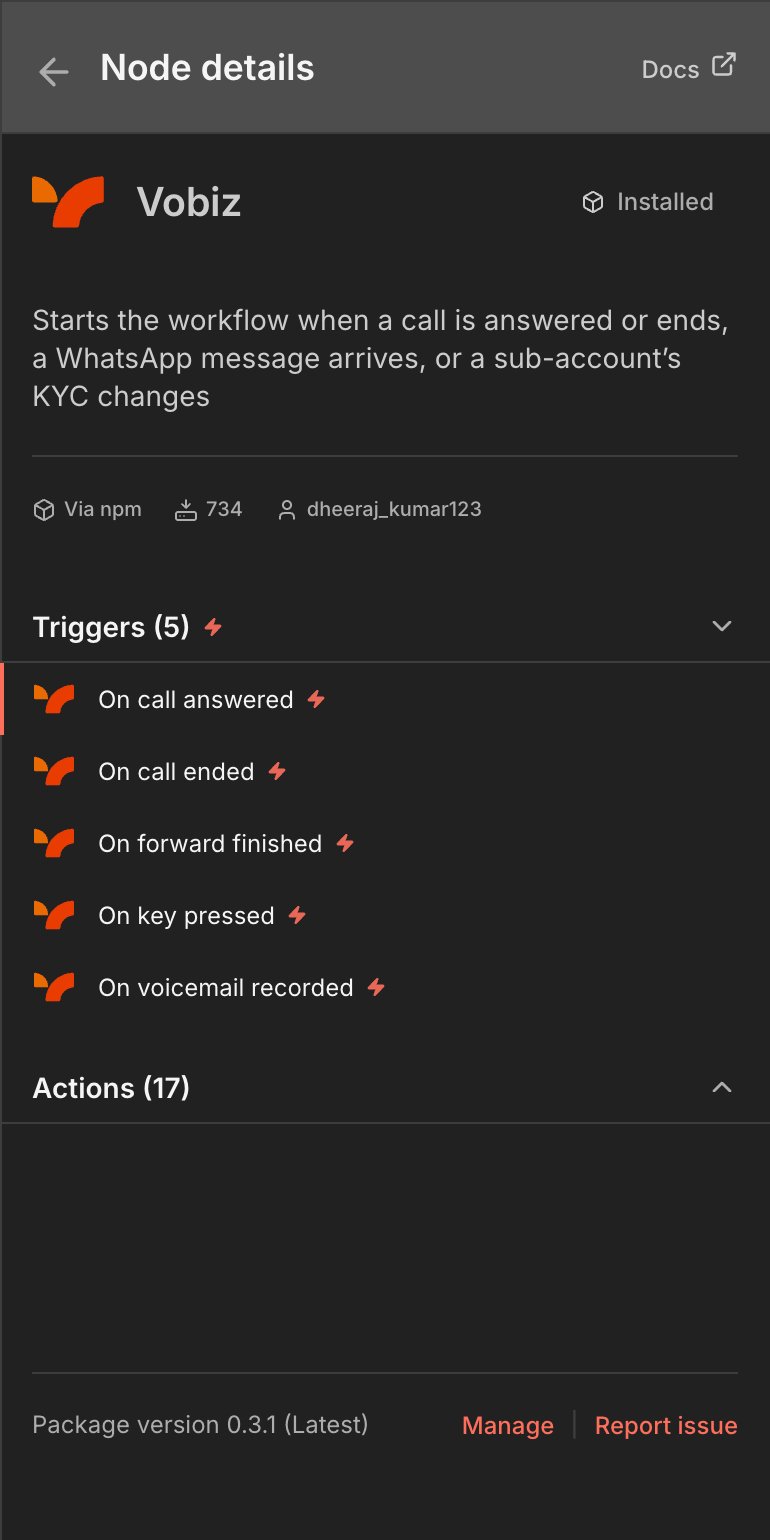
In a workflow, search for Vobiz in the nodes panel and select Vobiz. Node details shows Installed and Via npm. Select On call answered, then connect your Vobiz account.
Connect your Vobiz account
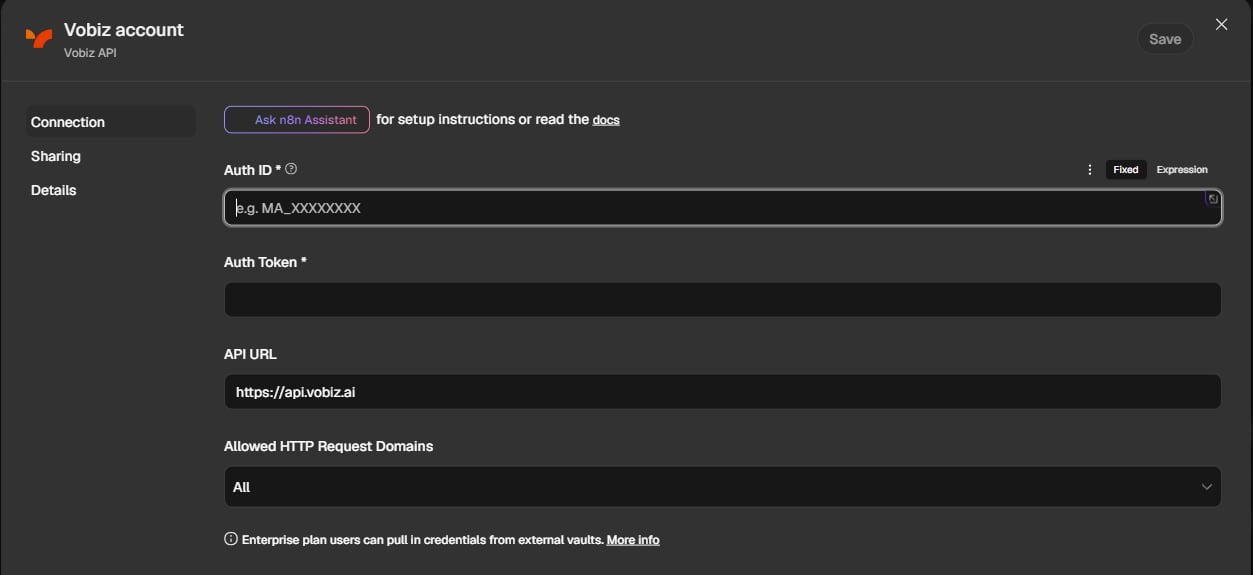
The Vobiz node signs in to Vobiz with your Auth ID and Auth Token. You save them once in n8n as a Vobiz API credential, and every Vobiz node can use it.Step 1: Open the credential window
1
Open the trigger
Double-click the Vobiz Trigger on the canvas to open its settings.
2
Click Connect to Vobiz
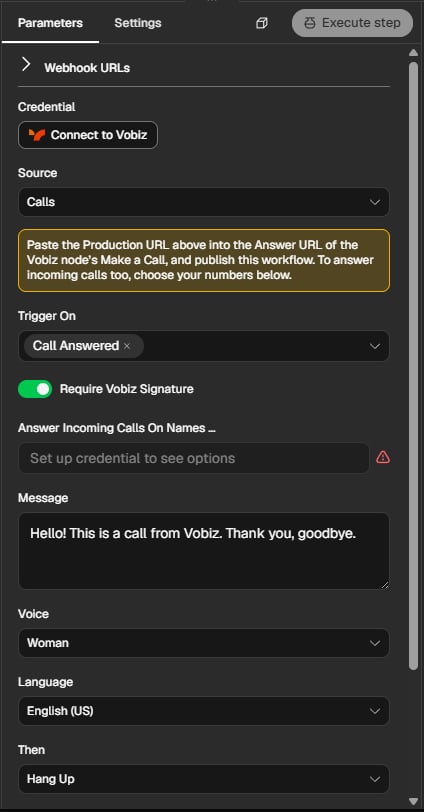
Under Credential, click Connect to Vobiz. Until you do, Answer Incoming Calls On Names or IDs shows Set up credential to see options.
Step 2: Copy your Auth ID and Auth Token
1
Open API credentials
In the Vobiz Console, open Dashboard and scroll down to API credentials.
2
Copy both values
Click the copy icon next to Auth ID (it starts with
MA_), then the one next to Auth Token. The eye icon shows the Auth Token.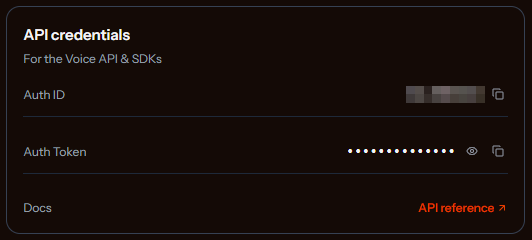
Step 3: Paste them into n8n and save
1
Paste your credentials
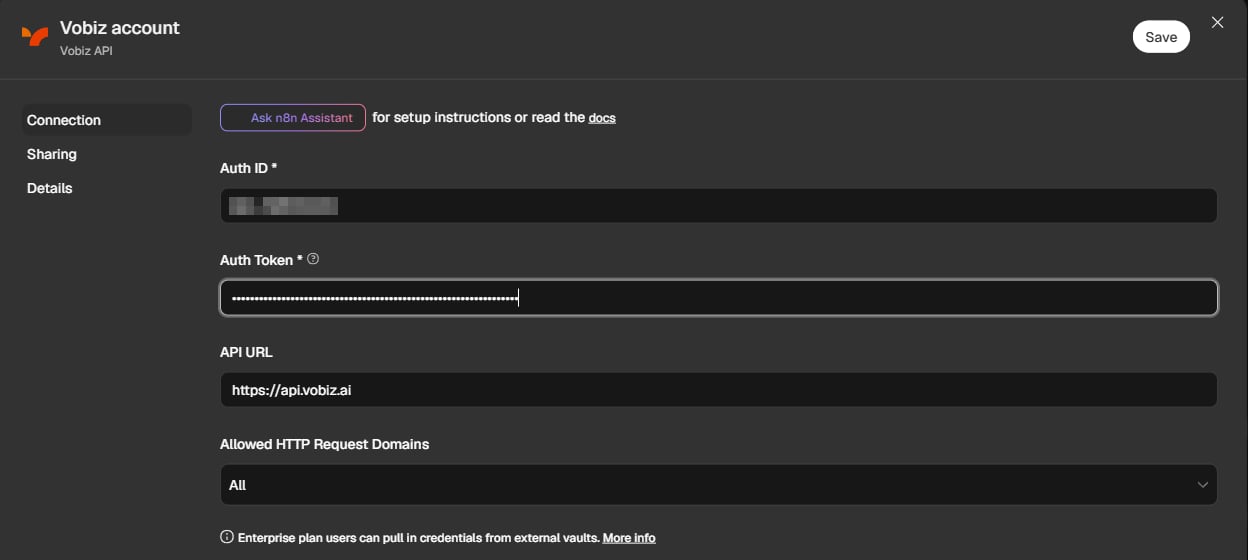
Back in the Vobiz account window, paste your Auth ID and Auth Token. Leave API URL as
https://api.vobiz.ai, and Allowed HTTP Request Domains as it is.2
Save
Click Save. n8n checks the credential with Vobiz straight away and shows Connection tested successfully.
n8n keeps the credential in its encrypted credential store and sends it only to Vobiz, as the
X-Auth-ID and X-Auth-Token headers. To work as a sub-account, create another Vobiz API credential with that sub-account’s Auth ID (SA_…) and Auth Token.Your Vobiz account is connected. You can pick this credential on any Vobiz node.
Ready-made workflows
Import one of these 20 workflows instead of building it node by node. Each file uses placeholders only, such as+91XXXXXXXXXX for phone numbers, and carries no credentials. A Setup note inside each workflow says what to fill in.
Step 1: Import the workflow
1
Copy the link
In the tables below, right-click JSON in the Download column and copy the link address.
2
Import it into n8n
In n8n, create a new workflow, click the ⋯ menu at the top right, then Import → From URL, and paste the link. To use a downloaded file instead, choose Import → From file.
Step 2: Fill in the placeholders and publish
1
Follow the Setup note
Pick your Vobiz credential on each Vobiz node, connect any other app the workflow uses, choose your numbers, and replace the placeholders.
2
Publish
Click Publish.
Workflows that make calls include their own Vobiz Trigger, named Answer the call. Open it, copy its Production URL from Webhook URLs, and paste it into Answer URL on the node that makes the call.
Simple and medium
Advanced
Make your first call
When a call is answered, Vobiz asks a web address - the Answer URL - what to do next. The Vobiz Trigger with Source: Calls is that address: it replies with your message in VobizXML, so you don’t write XML or run a server.Step 1: Set up the Vobiz Trigger
1
Open the trigger
Open the Vobiz Trigger you added in Install the Vobiz node. Its Source is Calls, and Trigger On is Call Answered. In another workflow, add one the same way: search for
Vobiz, select Vobiz, and under Triggers select On call answered.2
Write the message
In Message, enter what the person hears when they answer, for example
This is a reminder that your appointment is tomorrow at 10 am. Choose a Voice and a Language.3
Choose what happens next
Leave Then on Hang Up: the call ends after the message.
4
Publish the workflow
Click Publish at the top right. Vobiz can reach the trigger only while its workflow is published.
Step 2: Copy the Production URL
Open the trigger, expand Webhook URLs, select Production URL and copy the address. It contains /webhook/, not /webhook-test/.
Step 3: Add Make a call
1
Start a second workflow
Create another workflow and start it with any trigger: Trigger manually to test, or a schedule, a form or a new Google Sheets row.
2
Add Make a call
Click +, search for
vobiz, select Vobiz, and under Actions select Make a call.3
Fill in the call
Select your credential, fill in the fields below, and paste the Production URL into Answer URL.
Under Options, you can also set:
Step 4: Place the call
Click Execute step. The phone in To rings, and when it’s answered, Vobiz speaks your message. The node’s output has Vobiz’s reply, with the call’s call_uuid.
Outbound calling works! Your n8n workflows can now call any number from your Vobiz number and speak a message.
A call between two people
n8n can’t talk on a call itself, so Vobiz rings two phones and connects them: first the one in To, then the one in Connect To.- Point Answer URL at your Vobiz Trigger’s Production URL, as above.
- Put your own phone (or your agent’s) in To, and the person to talk to in Connect To. Both can come from your data, such as
{{ $json.phone }}from a sheet or CRM row. To ring several numbers, separate them with commas: they all ring, and the first to answer is connected. - Leave Message empty to connect straight away, or set one, such as Connecting you to Asha, to hear it first.
Answer incoming calls
The same Vobiz Trigger can answer calls to your Vobiz numbers.Step 1: Choose your numbers
In the Vobiz Trigger (Source: Calls), open Answer Incoming Calls On Names or IDs and select one or more numbers. Each number in the list shows its state:
Your existing setups are safe. The trigger only takes numbers that aren’t linked to anything else, and changes nothing in your account when it refuses one. To use a linked number here, detach it in the Vobiz Console first.
Step 2: Choose what callers get
Set the Message, then choose Then:
Step 3: Publish the workflow
Click Publish. The trigger creates a Vobiz application for its address, named n8n-call-answered-…, and links your numbers to it. When you unpublish the workflow, it removes the application and releases the numbers.
Menus, forwarding and voicemail need the workflow to be published: Vobiz sends the key pressed, the forwarding result and the recording to the trigger’s Production URL.
Step 4: Test it
Call your Vobiz number from any phone. You hear the message, then whatever you chose in Then.
Inbound calling works! Calls to your Vobiz number are now answered by your n8n workflow.
Start workflows from call events
Choose the events in the trigger’s Trigger On. Tick several to handle them in one workflow, and use an If or Switch node onevent to branch.
Every output also has a
vobiz field with the full request Vobiz sent. To get a voicemail’s audio, pass its recording_id to Vobiz → Download a recording.
Act on every call on your account
The Vobiz Trigger fires for calls that go through it. To act on every call on your account - including calls on numbers used by other setups, such as a CRM integration - check Vobiz on a schedule:1
Schedule Trigger
Add n8n’s Schedule Trigger, for example every 5 minutes.
2
Get many call records
Add Vobiz → Get many call records. Set Limit above the number of calls you expect between checks.
3
Remove Duplicates
Add n8n’s Remove Duplicates node with Operation Remove Items Processed in Previous Executions and Value to Dedupe On
{{ $json.uuid }}, so each call is passed on only once. The first run passes on every call it finds.{{ $json.recording_id }}, then Vobiz → Download a recording to get the audio.
Call records appear a few seconds after a call ends. See Call detail records for the fields Vobiz returns.
Send a WhatsApp message
Add Vobiz → Send a message (Resource WhatsApp Message, Operation Send):
- Channel - your WhatsApp number on Vobiz, from the list.
- To - the customer’s number, with its country code.
- Message Type - Text (default), Image, Audio, Video, Document, Sticker or Template. Media types take a Media URL; a Template takes the approved template and its Body Variables.
Receive WhatsApp messages
Add a Vobiz Trigger and set Source to WhatsApp:
- Trigger On - Message Received (a customer messages you; the default) and/or Message Status Changed (a message you sent was sent, delivered, read or failed).
- Channel - optional. Limits the trigger to one WhatsApp number; leave it empty for every channel on the account.
Sub-accounts and KYC
A sub-account is a separate account under yours, with its own Auth ID (SA_…), Auth Token, numbers and call records. Its usage is billed to your main account. Manage sub-accounts with your main account’s credential (MA_…).
KYC: a personal use sub-account shares your KYC and can make calls at once. A customer use sub-account is for a customer who must be verified in their own name: it needs an email address, and it can’t make calls until their KYC passes.
To hear about KYC results, add a Vobiz Trigger with Source set to Sub-Account KYC:
- Choose the events in Trigger On: KYC Started, Documents Submitted, KYC Completed, KYC Failed, Link Expired or Link Revoked. KYC Completed and KYC Failed are selected by default.
- Publish the workflow, open the trigger and copy its Production URL.
- On Start verification for a sub account, paste it into Options → Webhook URL. Vobiz then reports that customer’s KYC to the trigger.
All Vobiz actions
Recordings are private: their links need your Vobiz credential. Use Download a recording to get the file rather than opening the link.
Manage, update or remove the node
Installed packages are listed under Settings → Community nodes. You need the Owner or Admin role.1
Open Settings
Click Settings at the bottom of the left sidebar.
2
Open Community nodes
Select Community nodes. The page lists
@vobiz-ai/n8n-nodes-vobiz and its version.- Update: when a new version is available, an Update button appears on the package. On n8n Cloud, n8n reviews each new version before it’s offered.
- Uninstall: open the package’s Options menu (three dots), select Uninstall package and confirm. Unpublish the workflows that use the Vobiz Trigger first, so it releases its numbers, its Vobiz application and its WhatsApp subscriptions.
Security
- Your Auth ID and Auth Token stay in n8n’s encrypted credential store and are sent only to Vobiz. Download a recording sends your credential only to Vobiz hosts.
- Call events to the Vobiz Trigger (Calls) are checked against Vobiz’s
X-Vobiz-Signature-V3(or V2) header, signed with your Auth Token. Forged events are refused, and so are unsigned ones while Require Vobiz Signature is on. See Validating webhooks (callbacks). - WhatsApp events are checked with a secret created for each subscription. Unsigned or forged events are refused.
- KYC events (Sub-Account KYC) are checked against Vobiz’s
X-Vobiz-Signatureheader, signed with your main account’s Auth Token. - A new sub-account’s Auth Token appears only in the output of Create a sub account. n8n keeps it in that run’s execution data, so save it to a credential and limit who can see executions.
Troubleshooting
Vobiz doesn’t appear in the nodes panel
- You have the Member role: only an Owner or Admin can install the node. Ask them to follow Install the Vobiz node.
- n8n Cloud: check that Verified community nodes is on under Instance settings in the Cloud console.
- Self-hosted n8n: install it as a community node.
The call rings, then there’s silence
- The Answer URL is the trigger’s Test URL, or the trigger’s workflow isn’t published. Publish it and use the Production URL.
- For a menu or voicemail that goes silent after the message: the workflow isn’t published, so Vobiz’s follow-up gets no answer.
- If n8n’s log says a request was refused: it had no Vobiz signature, your Vobiz account sends call events without a signature. Turn off Require Vobiz Signature on the trigger.
Triggers don’t receive events
- Self-hosted n8n needs a public address. Vobiz sends events over the internet, so set
WEBHOOK_URLto n8n’s public HTTPS address (n8n guide), then use the trigger’s Production URL. This works automatically on n8n Cloud. - The public address changed (for example, a tunnel that gets a new address on every restart): unpublish and publish your trigger workflows again, so Vobiz uses the new address.
Error messages
Next steps
- Learn what Vobiz can say and do on a call: VobizXML, for the trigger’s Custom XML option.
- Understand calls: Make a call in the Vobiz API reference describes the request Make a call sends.
- Work with call data: Call detail records and Recordings.
- Set up WhatsApp: WhatsApp getting started.
- Explore n8n: n8n’s community node docs.