A screenshot-by-screenshot walkthrough of connecting a WhatsApp Business channel in the Vobiz Console - embedded signup with Meta, creating a template, running a campaign, and fixing the errors Meta returns along the way.
This walkthrough follows the embedded signup path - Meta’s hosted onboarding flow, reached from Connect with Provider in the console. It is the fastest way to attach a number, because Meta creates the WhatsApp Business Account and issues the access token for you.If you would rather enter your WABA ID, Phone Number ID, and access token by hand, use Manual Setup instead and follow the BYON guide.
Before you start, have a phone number that can receive SMS or a voice call and is not currently registered on the WhatsApp or WhatsApp Business consumer app. See Prerequisites.
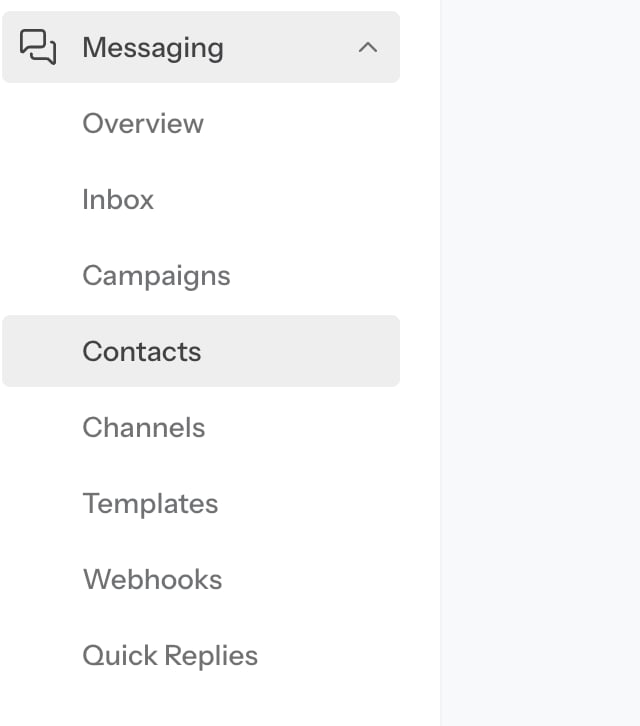
Everything WhatsApp lives under Messaging in the console sidebar. Start at the overview, then open Inbox.
URL
https://console.vobiz.ai/app/messaging/overview
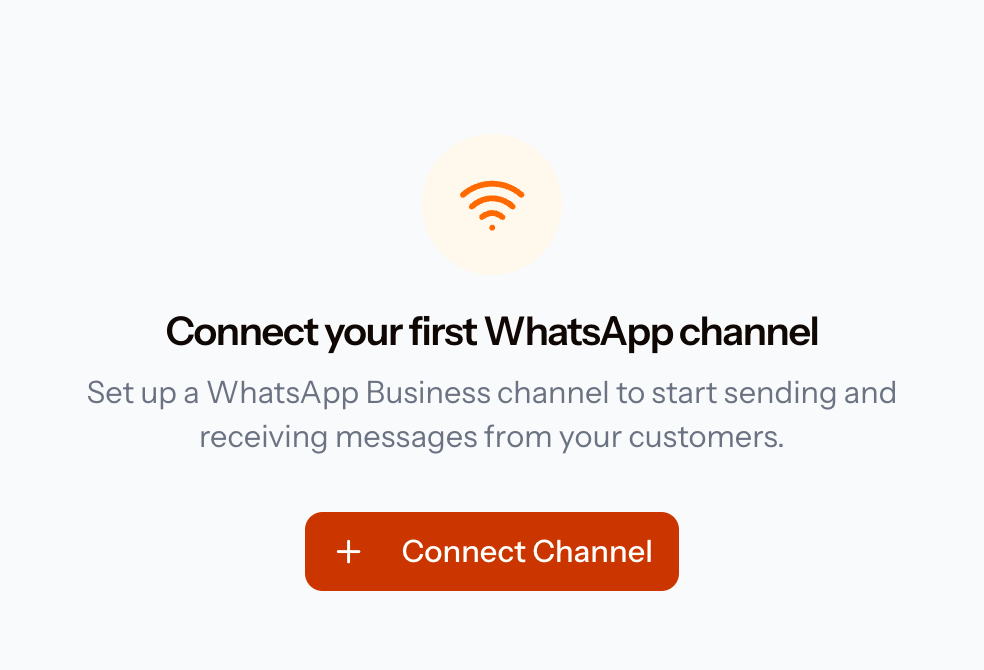
Until a channel exists, the Inbox shows an empty state. Click Connect Channel.
Messaging → Inbox with no channel connected yet
The same Connect Channel button is on Messaging → Channels at https://console.vobiz.ai/app/messaging/channels.
2
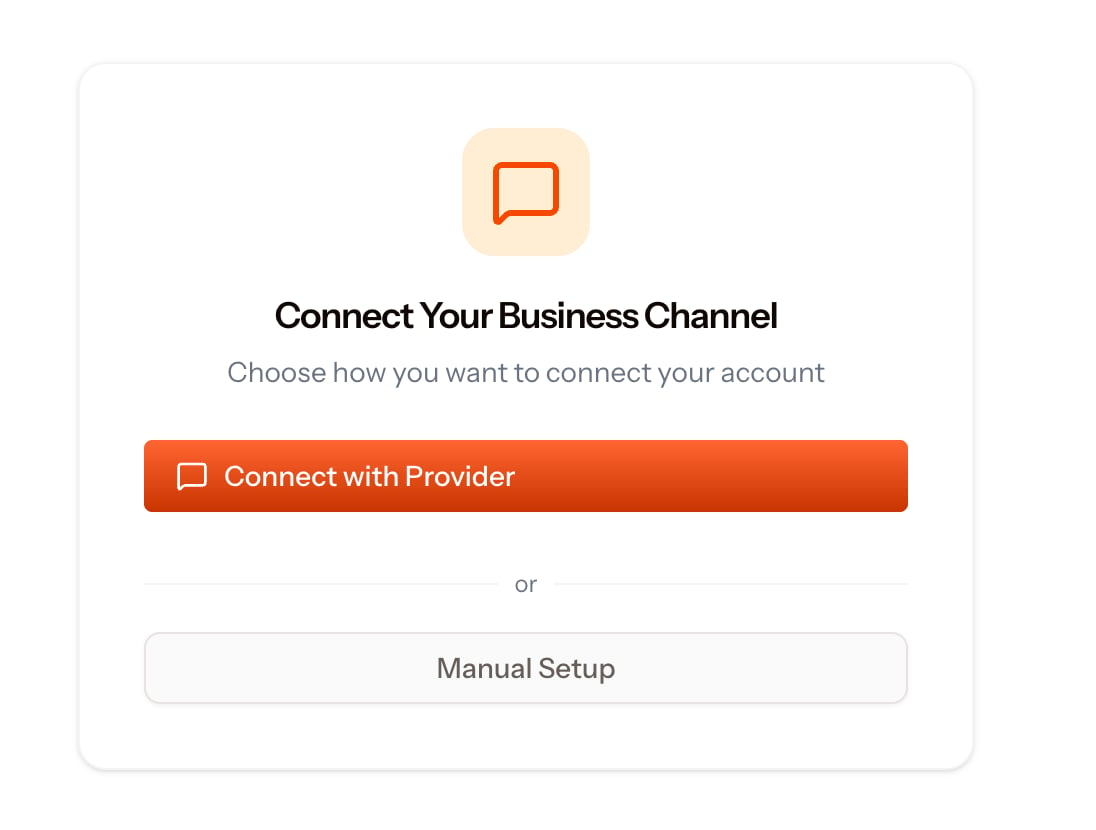
Choose the connection method
Choose Connect with Provider to use Meta’s hosted flow.
3
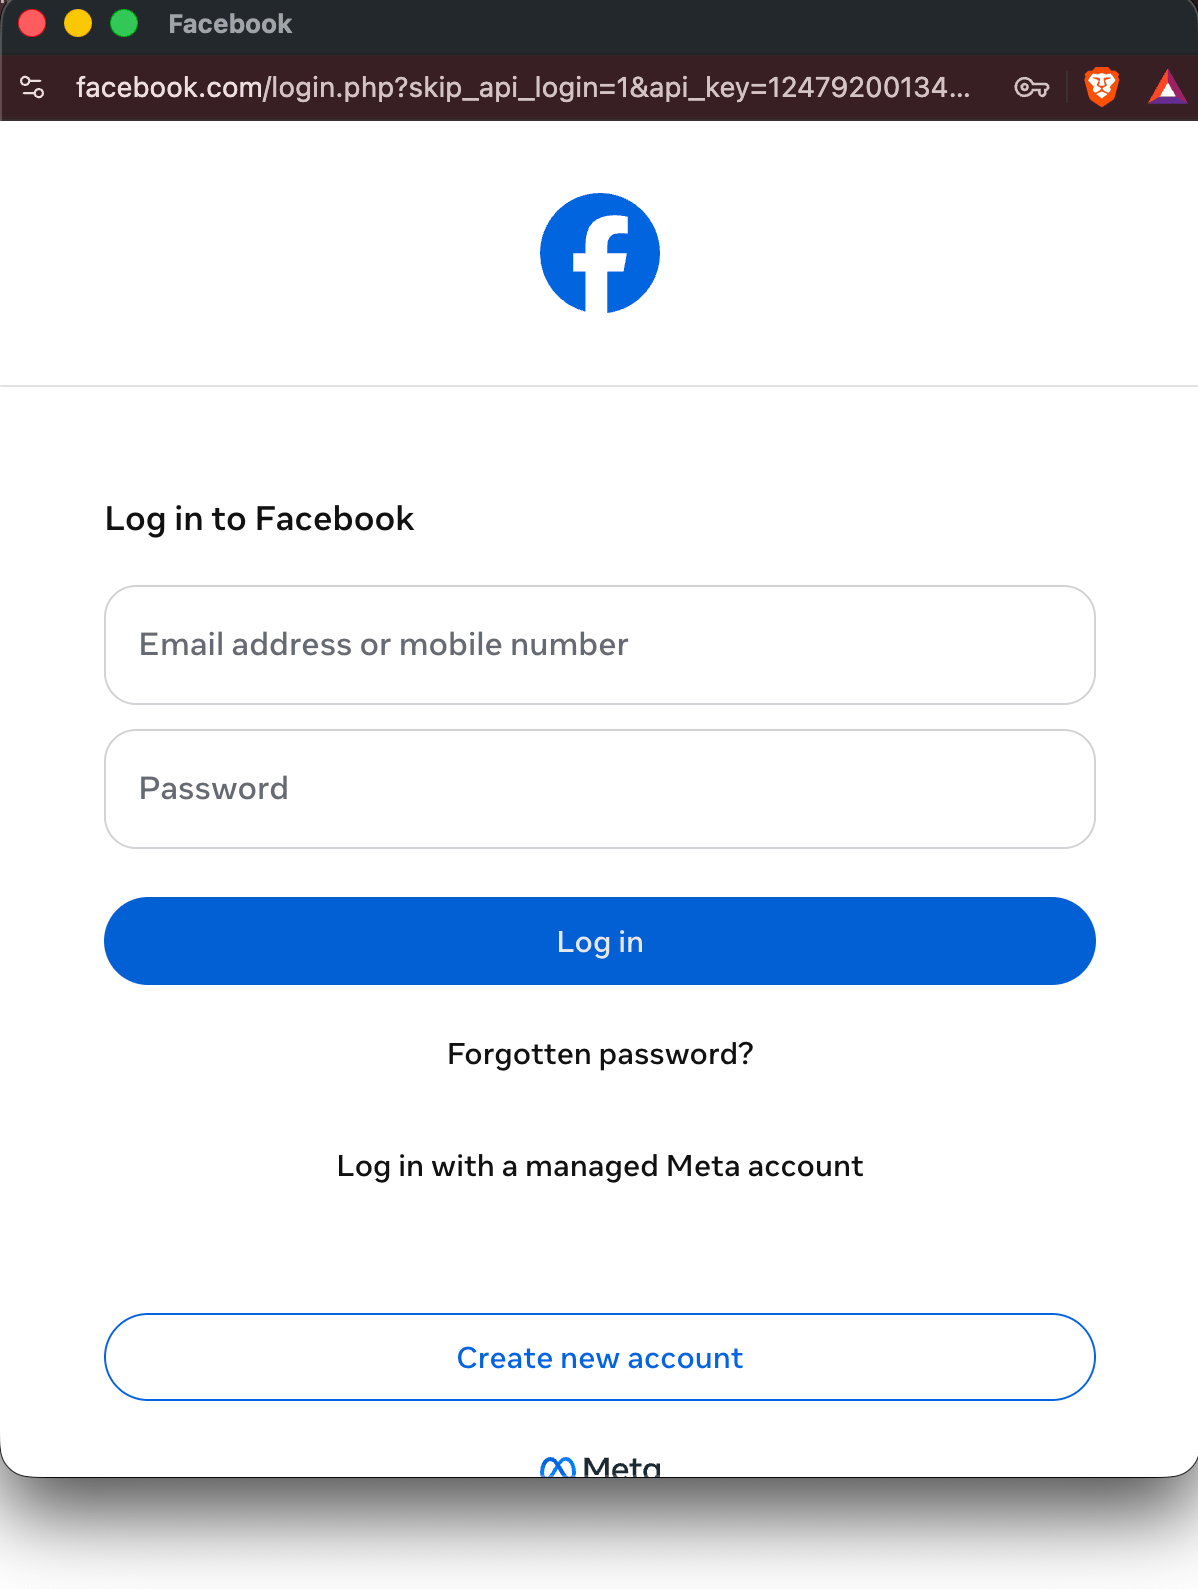
Log in to Facebook
A Facebook popup opens. Sign in with the account that administers your Meta Business Account - a personal account with no admin role on the business will get through login and then stall at the next screen.
Meta's login popup, opened by Connect with Provider
If the popup never appears, your browser blocked it. Allow popups for console.vobiz.ai and click Connect with Provider again.
4
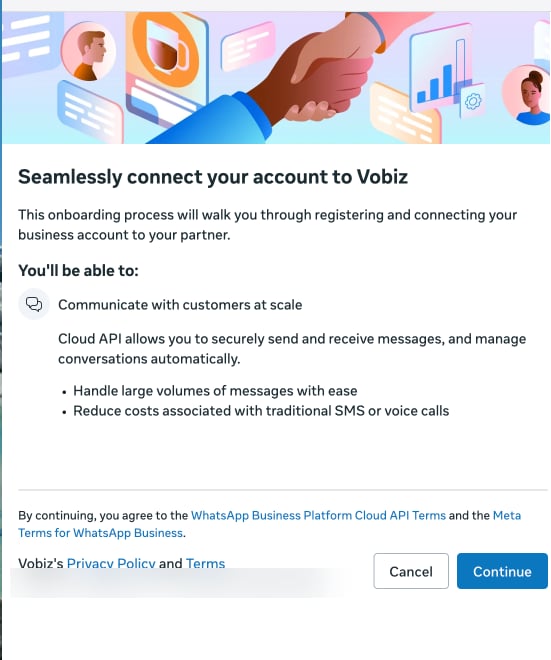
Grant access to Meta
Meta asks you to connect your business account to Vobiz. Review the Cloud API terms and click Continue.
5
Add your WhatsApp number
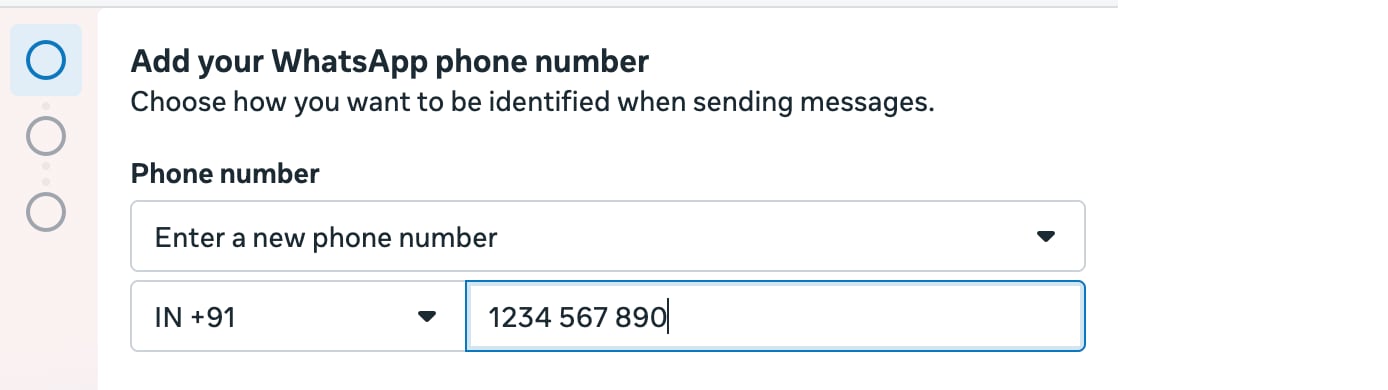
Select Enter a new phone number, pick the country code, and type the number you want to use for WhatsApp Business. Click Next.
A WhatsApp number can be attached to exactly one provider at a time. If the number is already live with another provider, deregister it there first.
6
Verify the number
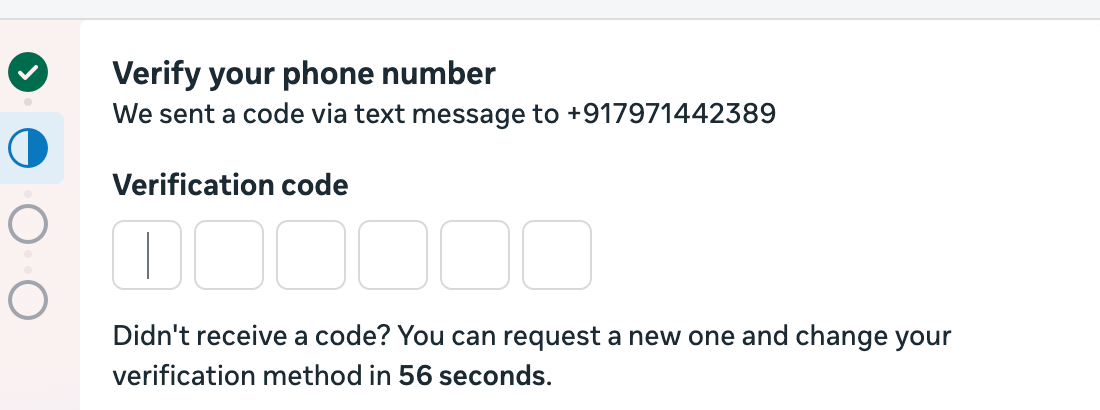
Meta sends a six-digit code and defaults to text message.
Meta's verification step, defaulting to SMS
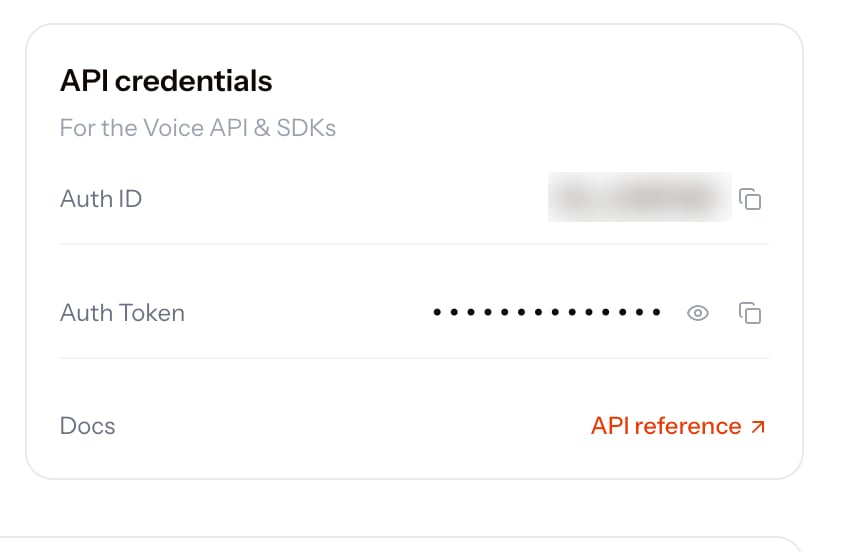
If you are verifying a Vobiz number, SMS will not arrive - a Vobiz DID is a cloud number with no SIM behind it. Wait out the countdown, use change your verification method, and pick Phone call instead.You then need somewhere to answer that call. Open the Vobiz WebRTC Playground, connect it with your Auth ID and Auth Token, and attach the number to the playground application - the browser tab rings and reads you the code.
How to Receive an Inbound Call in Your Browser
Step-by-step: connect the playground, attach your DID, and answer the verification call in a browser tab. Set this up before you request the call.
7
Confirm the channel is connected
When Meta finishes, the dialog closes and your channel appears in Messaging → Channels with a Connected status, showing your display name and phone number.
Everything in the console is also available over the REST API. Your Auth ID and Auth Token are on the console dashboard, and the same pair authenticates both the Voice and WhatsApp APIs.
Send them as X-Auth-ID and X-Auth-Token headers on every request:
With the number verified, three screens take you from an empty account to a delivered message.
1
Create a template
Go to Messaging → Templates and click Create Template.
URL
https://console.vobiz.ai/app/messaging/templates
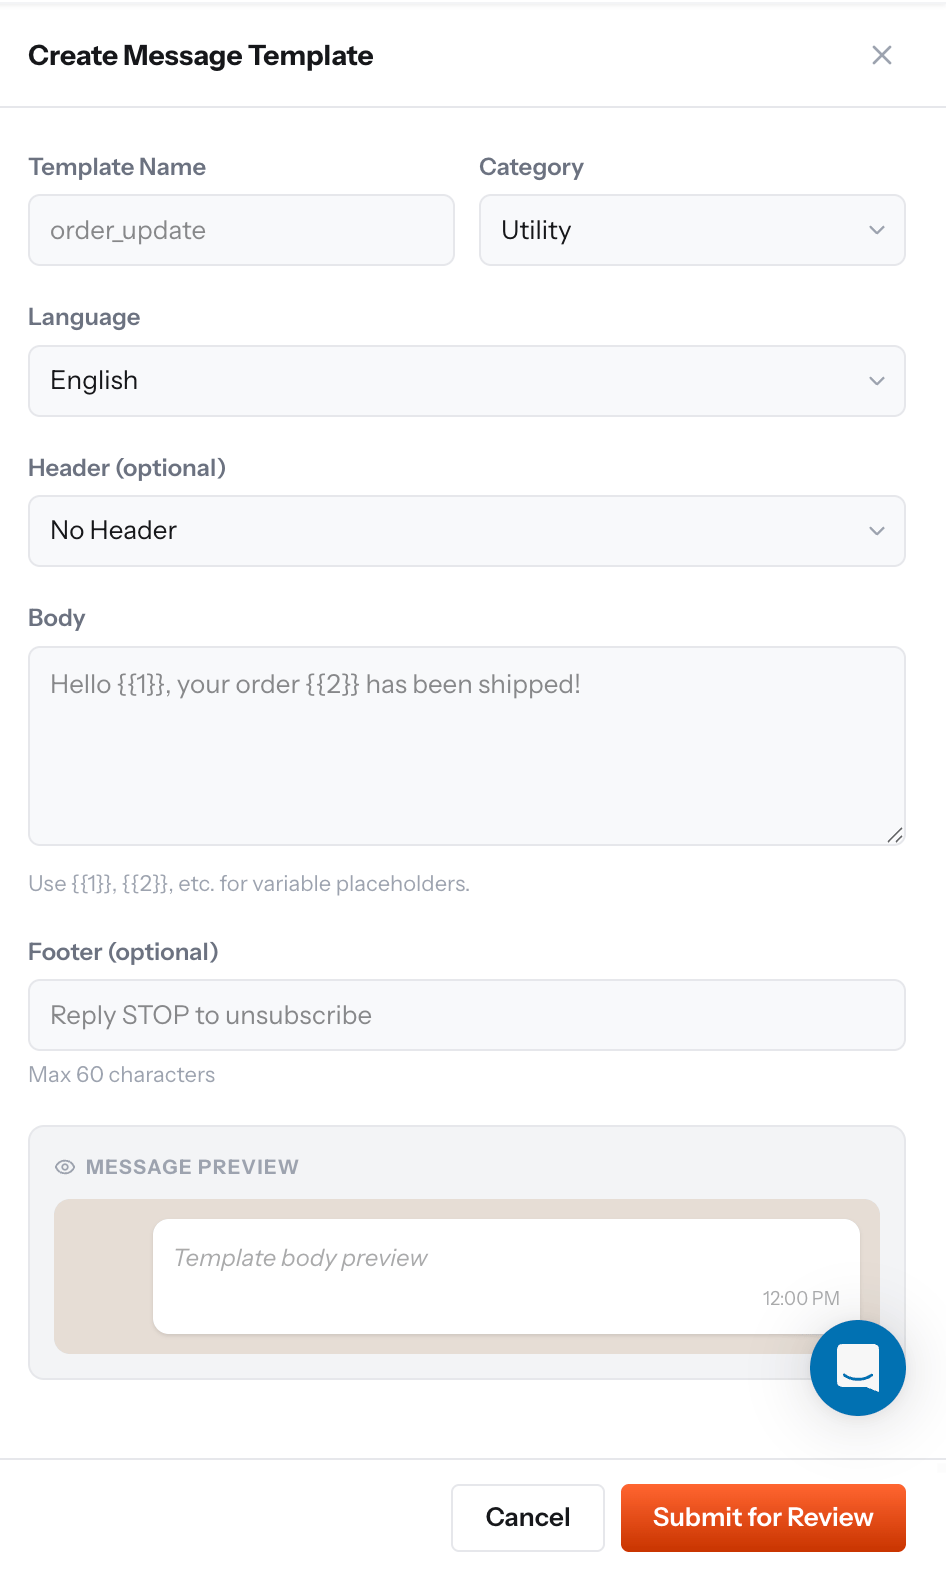
Create Message Template
Name it in lowercase_snake_case, pick the category that matches what the copy actually does, and use numbered placeholders - {{1}}, {{2}} - in the body. Click Submit for Review.Meta reviews it, not Vobiz. Approval usually takes minutes; the categories and the rejection reasons are covered in Fixing the errors Meta returns below.
2
Add a contact
Go to Messaging → Contacts and click Add Contact.
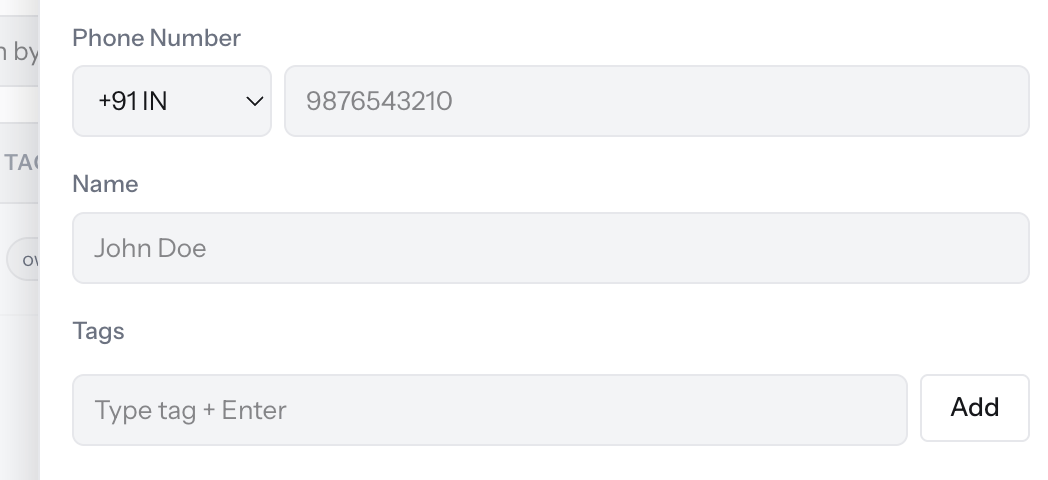
Add Contact
Pick the country code, enter the number, and give the contact a name.
Add tags now, even for a single test contact. Campaigns target by tag, so an untagged contact list cannot be broadcast to later.
3
Send the message
Go to Messaging → Inbox and start a New Conversation.
URL
https://console.vobiz.ai/app/messaging/inbox
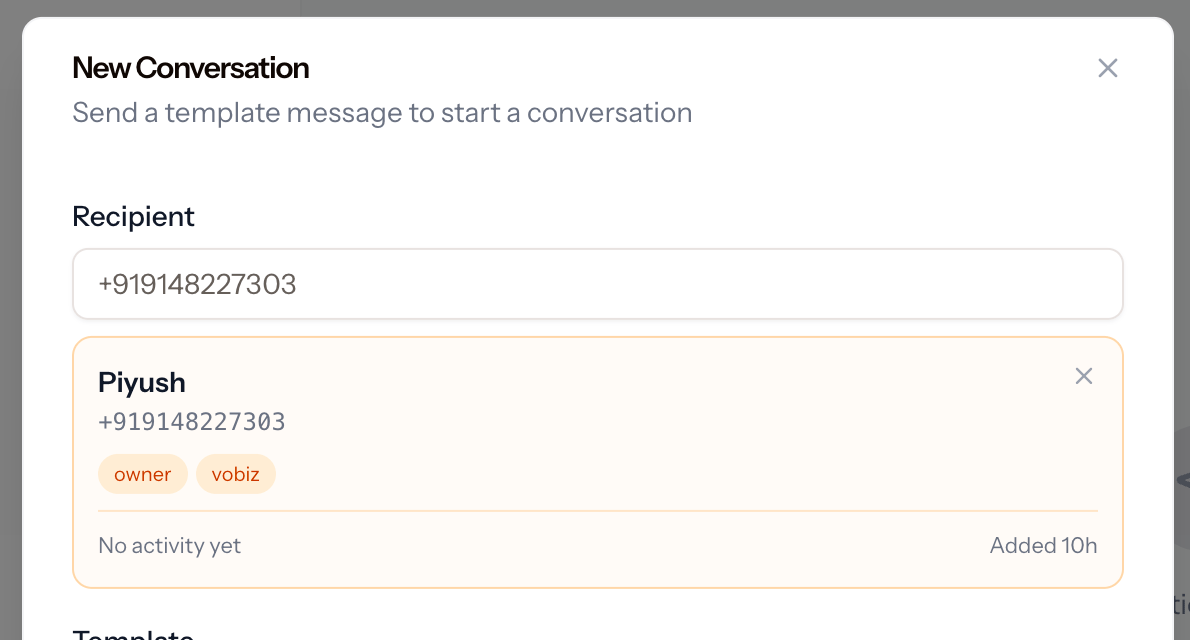
New Conversation - start with an approved template
Type the recipient’s number, pick the matching contact, choose an approved template, and fill in any variables it declares.
Your first message to any contact must be a template. Free-form text is only allowed inside the 24-hour window that opens when the contact replies to you.
The conversation opens in the Inbox and the message shows a delivery status. If it shows as failed instead, the reason will be one of the errors below.
Templates and sends are approved by Meta, not by Vobiz, so the rules below come from the WhatsApp Business Platform. These three account for almost every failure on a new account.
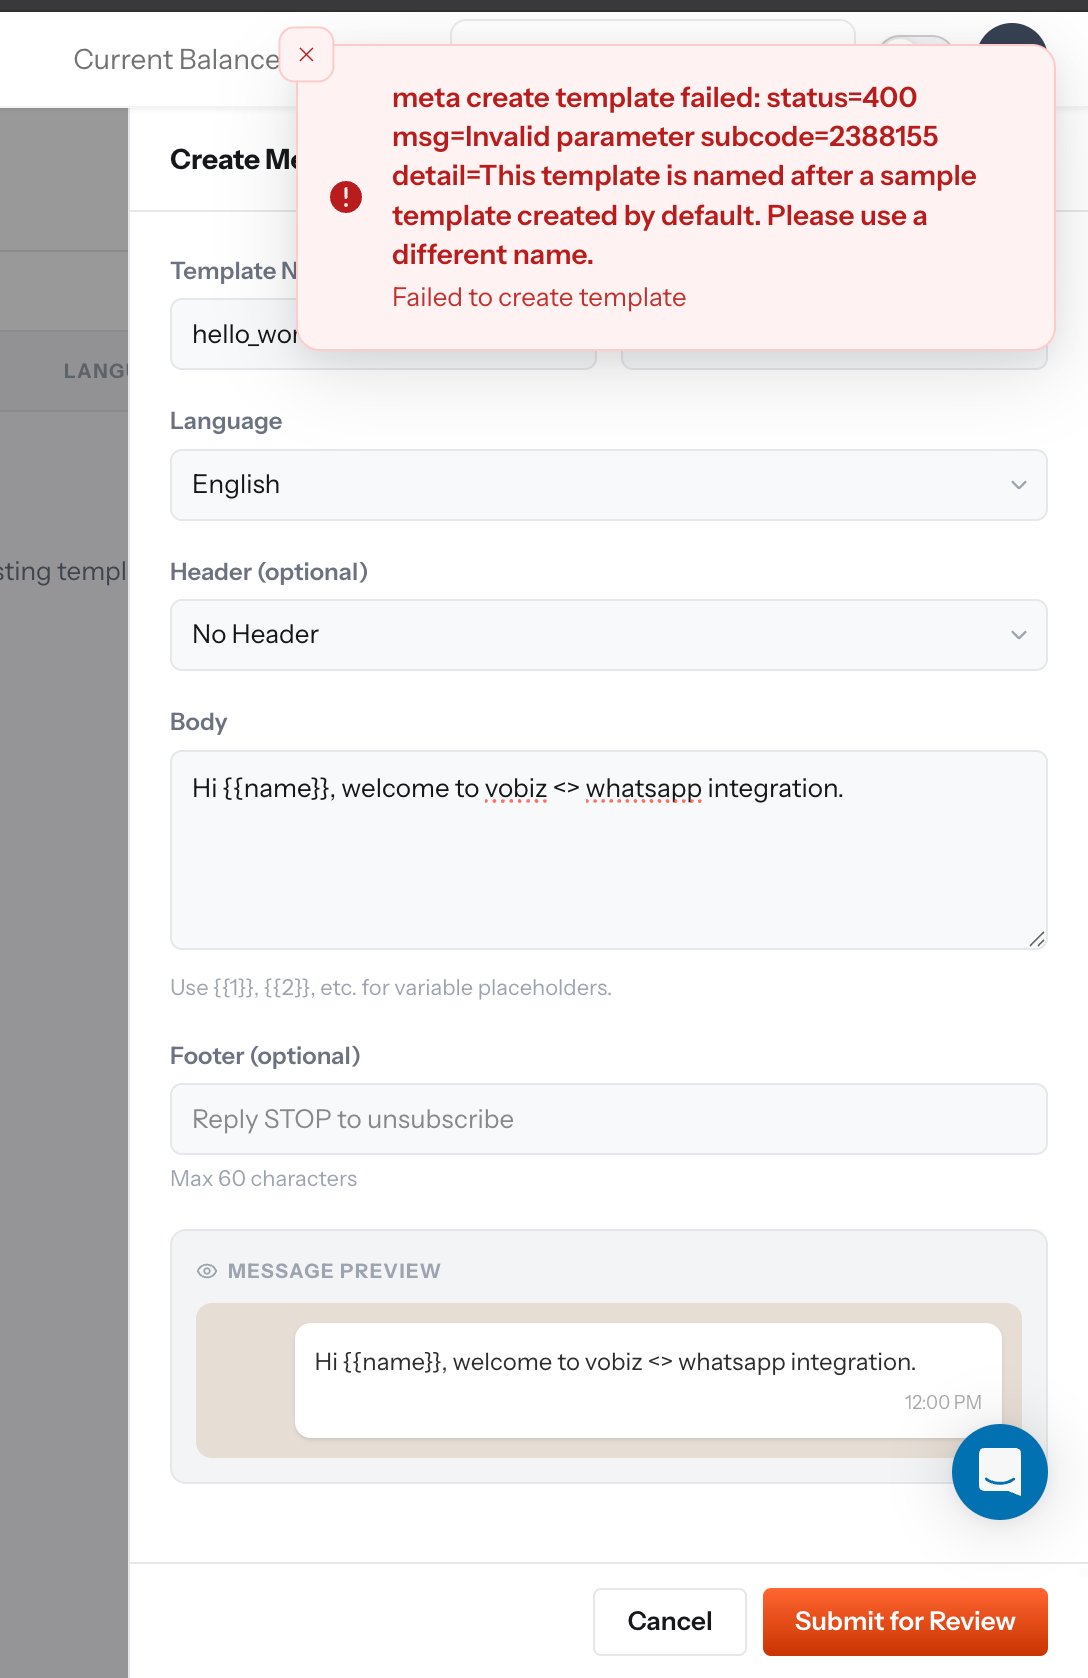
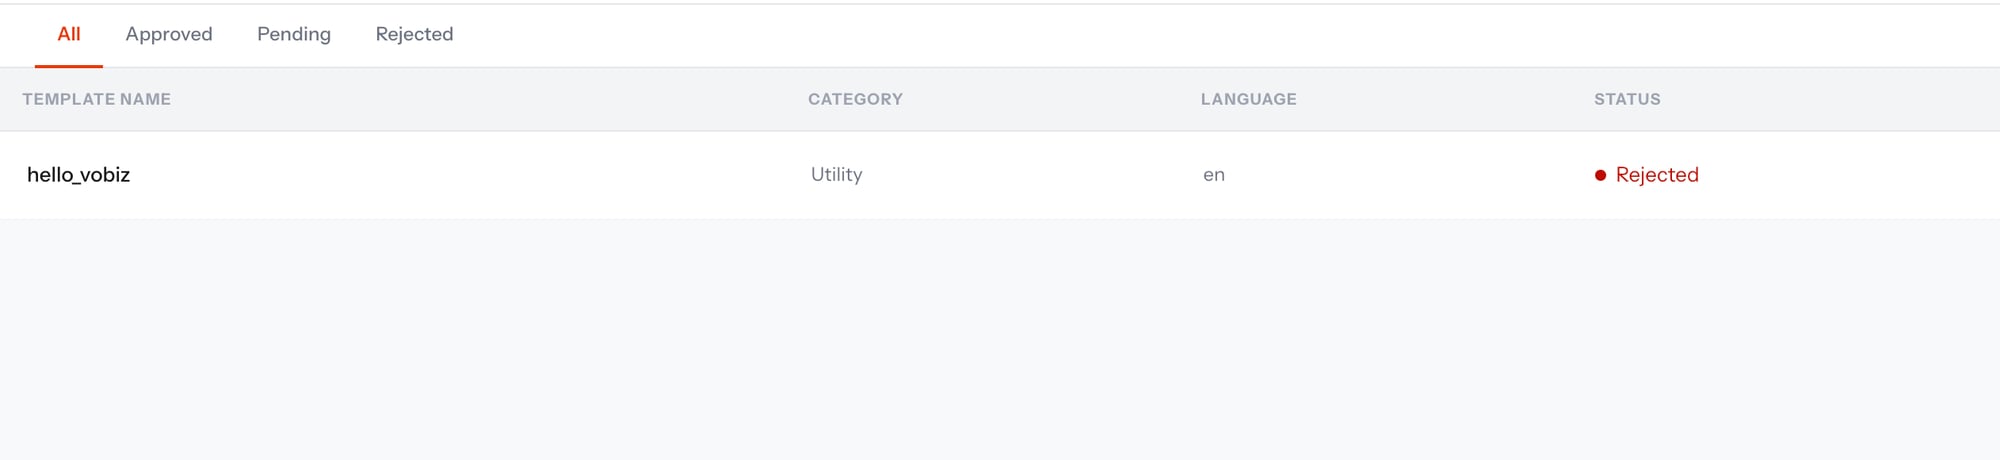
Every WhatsApp Business Account is created with a sample template called hello_world, so Meta reserves that name and returns subcode 2388155 if you try to reuse it.Pick a different name in lowercase_snake_case - for example order_update_v1.
That reserved hello_world template is already approved on your account. Run Sync templates to pull it into Vobiz, and you have a guaranteed-working template to test your first send with - no parameters, language en_US.
An instant rejection - no review queue - almost always means the category does not match the content. Meta classifies the copy automatically and rejects the submission when it disagrees with the category you picked.
Category
What belongs in it
UTILITY
A transaction or account event the customer triggered: order confirmations, shipping updates, appointment reminders, receipts.
MARKETING
Promotions, offers, newsletters, announcements, and generic welcome or greeting messages.
AUTHENTICATION
One-time passcodes only. Gets the COPY_CODE button and expedited review.
A plain “welcome to our service” message has no transaction behind it, so it belongs in MARKETING. Submitting it as UTILITY is the single most common cause of an instant rejection.Two more things to check before you resubmit:
Use numbered placeholders. Meta expects {{1}}, {{2}} in the body - not named ones like {{name}}.
Provide example values. A template with a variable and no sample value is rejected.
Rejected names cannot be reused, so submit the corrected template under a new name.
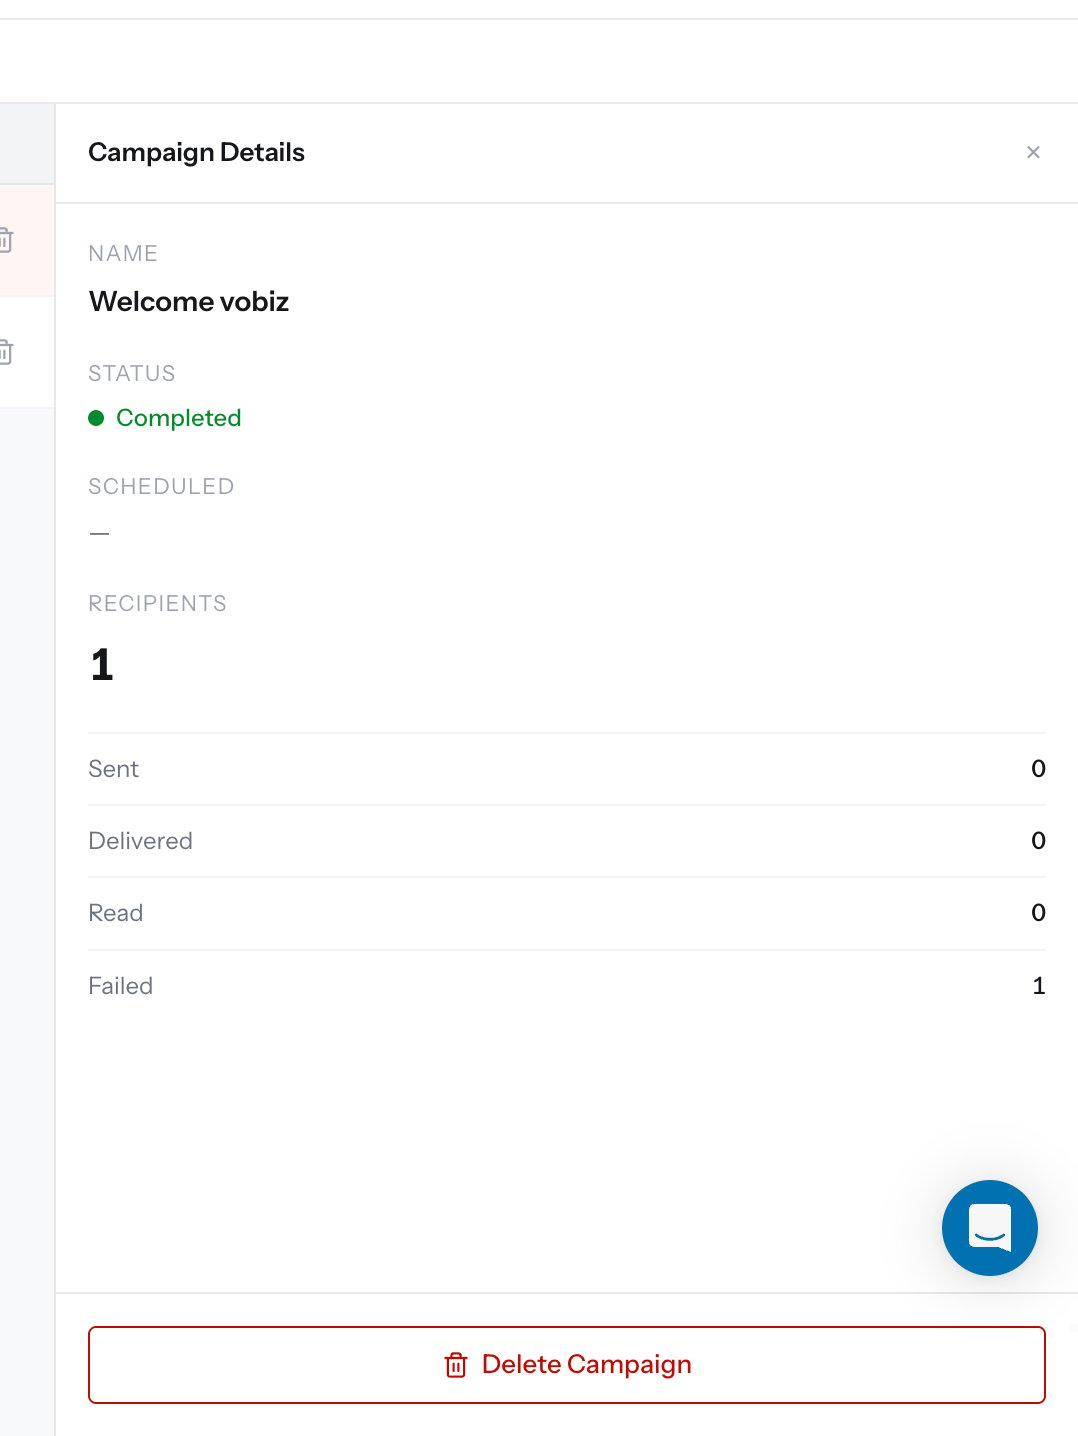
Completed means the campaign finished working through its recipient list - it is not a success count. Read the four counters below it. In the panel above, Sent is 0 and Failed is 1, which means the message was rejected before WhatsApp ever accepted it.The per-recipient reason is on the campaign recipients endpoint, in the error_code and error_desc fields:
Business eligibility - no payment method on the WABA
Add a payment method in Meta Business Manager under your WhatsApp Account’s billing settings. Meta requires one on file before any send, even inside the free conversation tier.
132001
Template name or language does not exist
Check the language code on the template. A template registered as en will not match a send that asks for en_US.
132000
Parameter count mismatch
The template body expects more variables than the campaign supplied, or a mapped contact field was empty.
133010
Phone number not registered for the Cloud API
Finish number registration in Meta, then reconnect the channel.
131026
Recipient cannot receive the message
The destination number is not on WhatsApp.
A 60-second way to tell account problems from template problems. Send the pre-approved hello_world template to your own number. If it also fails, the problem is account-level - usually 131042 or 133010, and nothing is wrong with your template. If it goes through, the problem is in your own template’s language code or variables.